Before committing to any mineral supplier for production quantities, you should conduct thorough laboratory evaluation of their samples under your specific production conditions. A well-designed testing protocol takes 1-2 weeks and gives you the confidence to make an informed purchasing decision. This protocol is what we recommend to all new customers — and what we follow when evaluating our own production quality.
Phase 1: Incoming Sample Inspection (Day 1)
Visual check
Open the sample bag and inspect the powder. It should be fine, free-flowing, white to light grey, with no visible dark specks, lumps, yellow discoloration, or foreign material. Any visible contamination is a red flag.
Moisture test
Weigh 50g accurately. Dry at 110 degrees C for 2 hours. Reweigh. Calculate moisture percentage. Should be below 1.0%. Record the value and compare with the supplier COA.
Sieve residue
Wet-sieve 100g through the specified mesh screen (74 microns for 200-mesh product, 150 microns for 100-mesh). Dry and weigh the residue. Should match the supplier specification (typically below 2-3% residue). This confirms the claimed particle size.
Phase 2: Chemical and Physical Analysis (Day 2-3)
XRF chemical analysis
If you have XRF capability, run a full oxide analysis. Compare all values (SiO2, Al2O3, Fe2O3, K2O, Na2O, CaO, MgO, TiO2, LOI) with the supplier COA. They should agree within normal analytical tolerance (typically plus/minus 0.5% for major oxides, plus/minus 0.02% for Fe2O3 and TiO2).
Firing test discs
Press at least 5 discs per sample at 30-40mm diameter using consistent pressure. Fire 3 discs at 1200 degrees C with standard cycle. Keep 2 discs unfired for reference. After firing, measure L*a*b* whiteness with spectrophotometer if available. Compare with supplier whiteness data and with discs from your current raw material fired under identical conditions.
Photograph results
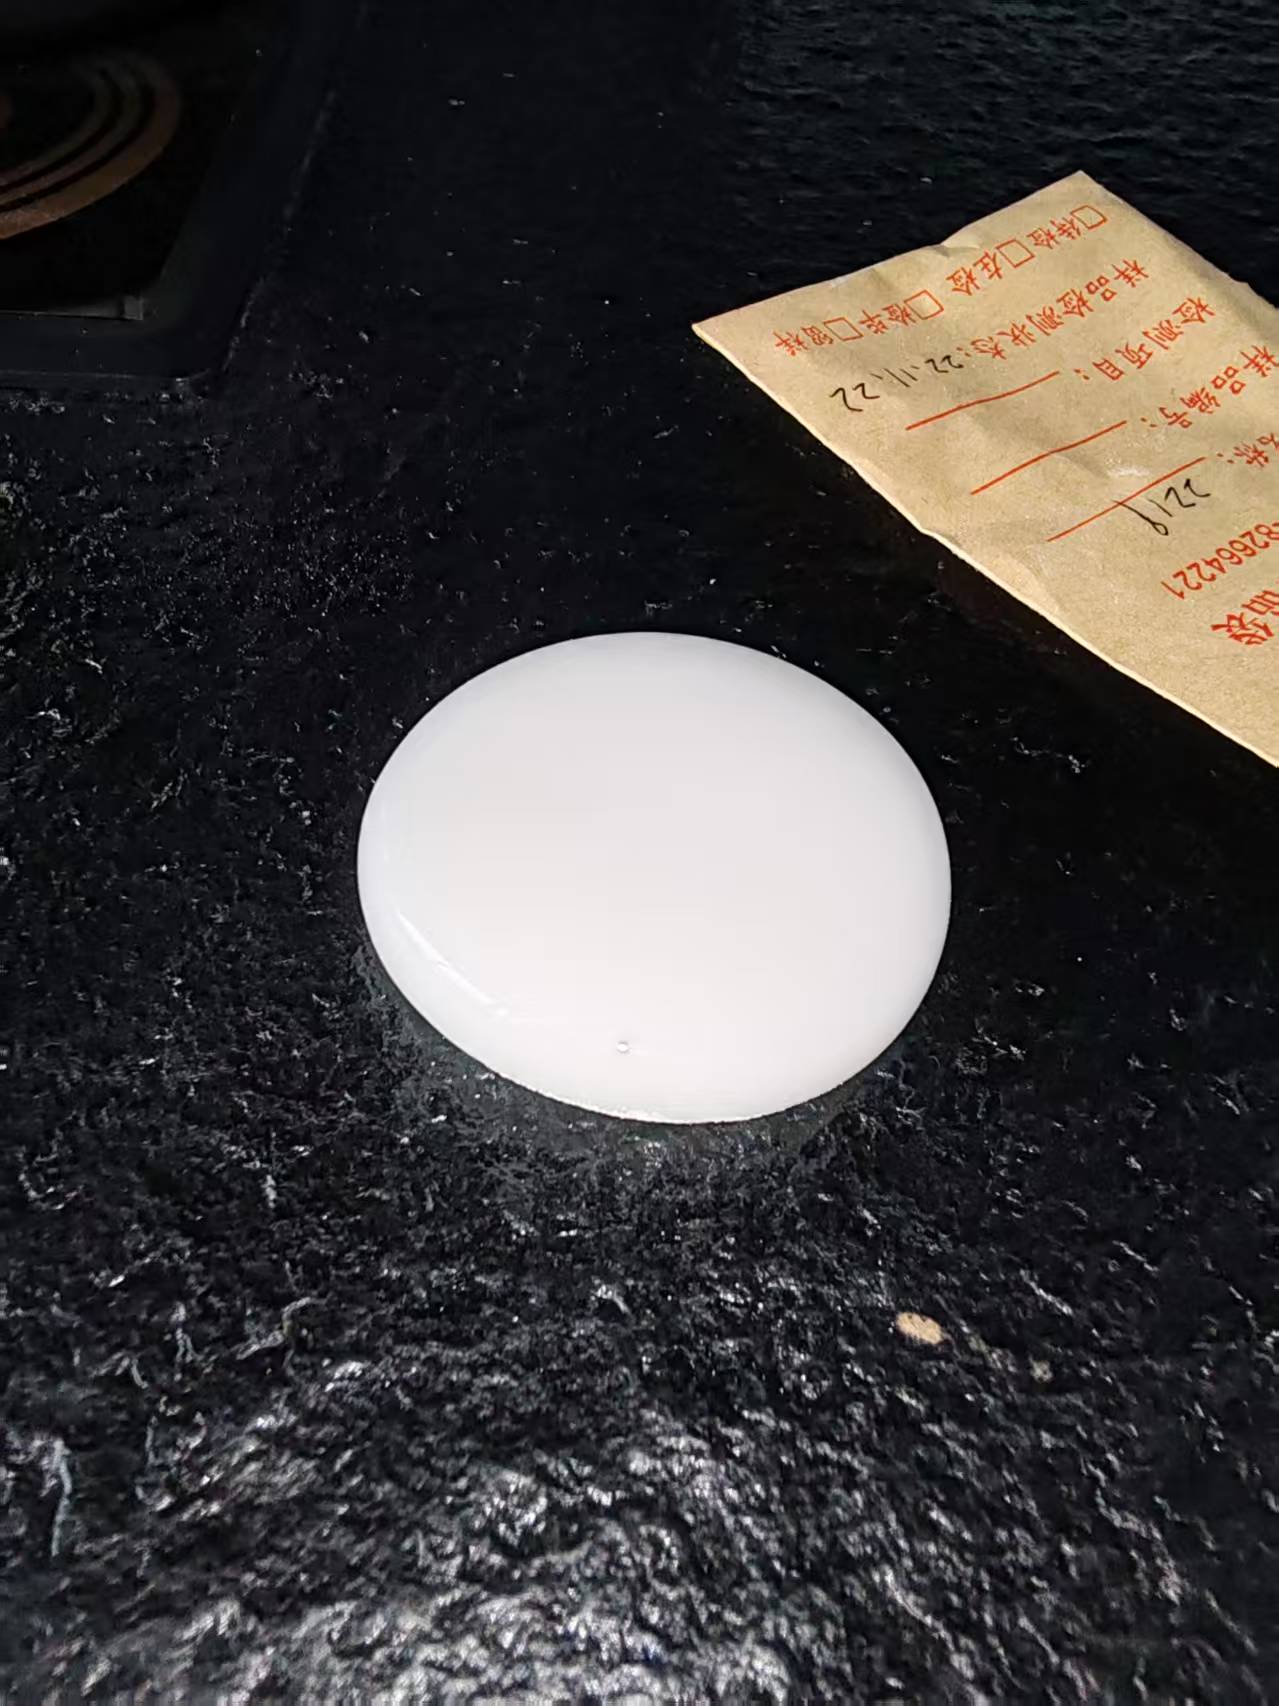
Photograph fired discs side-by-side (your current material vs sample) under standardized lighting for record-keeping and internal discussion.
Phase 3: Formulation Trials (Day 4-7)
Prepare test bodies
Make at least 3 body formulations: your current formula (control), current formula with sample replacing 50% of feldspar (at 82-85% weight), and current formula with sample replacing 100% of feldspar. See our conversion guide for calculation.
Ball mill and prepare
Ball mill each formulation to your standard residue target. Spray dry or oven-dry as appropriate. Press test tiles at your standard dimensions and pressing pressure.
Fire and evaluate
Fire all test tiles at your standard temperature AND at 20 degrees C lower. Measure: water absorption (weight gain after 24-hour boiling water immersion), linear shrinkage (compare with green dimensions), modulus of rupture (3-point bending test), and visual whiteness comparison.
Glaze fit test
Apply your standard glaze to test tiles from each formulation. Fire. Test for crazing using autoclave test (2 hours, 2 bar) and methylene blue immersion (24 hours). Any crazing indicates expansion mismatch requiring formulation adjustment.
Phase 4: Decision (Day 8-10)
Compare all data
Compile test results into a comparison table. Evaluate: does the sample meet or exceed your current material on whiteness, water absorption, strength, and glaze fit? What formulation adjustments are needed? What is the cost impact (material cost plus energy savings)?
Report and decide
Prepare an internal evaluation report with test data, photos, and cost analysis. If results are positive, proceed to trial container order.
Ready to take the next step?
Contact Andy for pricing, samples, and personalized guidance through the purchasing process.